Kicking off February ten days in, naturally with a series of nail care tutorials. Well, what I've managed to deduce.
I've been struggling with my nails for quite some time, actually. They were all weak and peely in the summer. Part of this was down to diet, which has since been changed - for the most part - but I realised that moisturising my hands as well as the rest of my body would work wonders. Hence I've been only painting one hand at a time and applying hand and cuticle cream frequently. My right hand now looks a lot more presentable, and rarely has any peeling issues. The index finger of the left hand still has quite a few peels, though, and the nails on that hand aren't quite as long.
Anyway. This series will just be about things I've picked up about nail care so far. Feel free to correct!

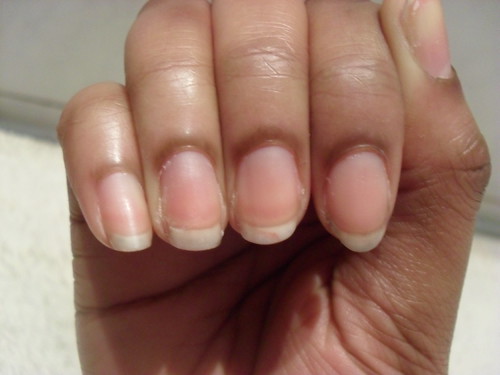
Notice the middle and index fingers are really quite rounded compared to the ring and little fingers. I'm going to try and correct that somewhat, though I'll need the sides to grow out slightly more to rectify it completely.
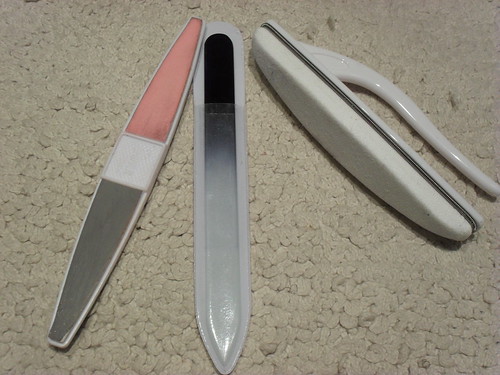
I'm going to use these tools.

I wouldn't really recommend the crystal nail file. It's from Poundland (so I wasn't expecting that much anyway) but after a while the glass on it wears down and it requires replacing. Still, it is only a pound...
The coloured buffer was 99p from Wilkinsons. It's got four sides and is actually pretty decent considering it's price. I can't remember where I purchased the white buffer but it was probably pretty cheap. I'll be using that at the end to seal the nail plate further and give a shine to the nail.
I always file in the same direction, towards myself. It doesn't matter which way you file, as long as you try and keep it consistent. I squared off the tops of both nails (slightly unevenly, it has to be said) before rounding the corners slightly. Alternatively, if I'd been willing to lose a lot more length, I could have just filed straight down so that the free edge was pretty much non existent. Then, when the nail grew back again, it would look just like the ring and little fingers. Try whichever method you think will work for you.
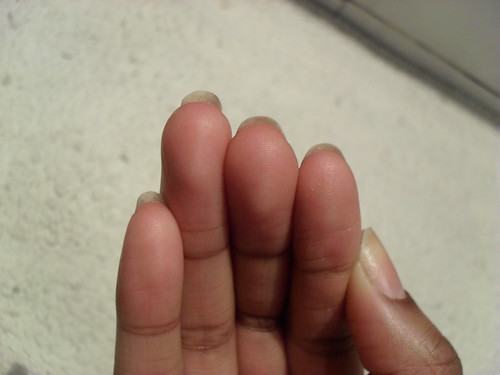
I then doublechecked my work by looking at the undersides of my nails, like this.

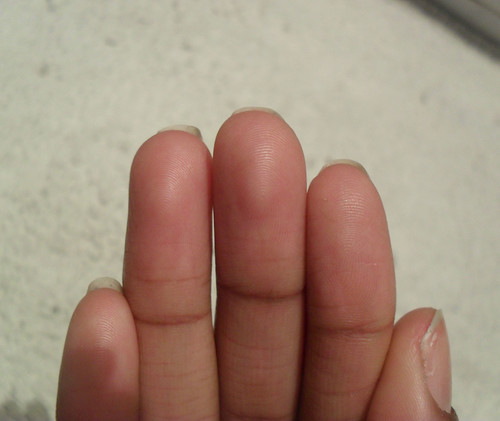
And this:

I find it quite helpful as it helps point out any slants or uneveness, and lets you compare them to each other.
Finally, I finished up with this. Photo is taken after sealing the nail plate, which I'll do another post on) but before the nails were buffed.

They're not perfect, but it's a start, right? /is nervous.
Naturally, for a school appropriate look, nothing gets more appropriate than natural, shiny, buffed nails! Easiest look ever.
Please give feedback, both positive (if there's any to be had...lol) and negative!
Where I’ve Been: Our Move to the Netherlands
2 weeks ago

I think they look good!!
ReplyDeleteBut a tip that I've picked up on shaping nails is to file them when they have polish on. It reinforces the nail so you don't get splitting as you file. And polish also covers the smile line so you can file the tips into the perfect shape without getting misguided.
Thank you for the advice, ChaosButterfly! With your permission, I'd love to add that in as a note at the end.
ReplyDeleteI can't shape my nails to save my life! I've no advice to give.
ReplyDeleteShocked that you are advocating naked nails for school! Doesn't sound like you at all. Have those teachers finally ground you down? ;o)
I opened up the page to give the advice about filing with polish on, but I see ChaosButterfly already mentioned it. Great tip though, before I did that my nails looked horrible!
ReplyDeleteYour nails have a pretty length now!
@jaljen: You'd think they'd lighten up for the final stretch of year eleven but they're even more draconian than before. The drama/dance teacher is just a bitch. I want to smack her in the face. *violent*
ReplyDelete@Deborah: Thanks anyway! Thank you for the comment and the nice words, too :)
your naked nails are gorgeous! I wish I could go nautral and not be embarrased.
ReplyDeleteThanks so much Scandalous :P I'm sure yours are gorgeous too :)
ReplyDelete